1. Installation on Web servers
JoomLMS is created as a Joomla! CMS Component and needs the latest Joomla! version for correct work. You can download the latest Joomla! version from the official site https://www.joomla.org/. You can also find necessary Joomla! documentation there.
There are two ways to install the component:
- Component installation using native Joomla! CMS installer;
- Component installation using JoomLMS installer (joomlms_helper.php).
1.1 Step-by-step component installation using native Joomla! CMS installer
- From the official JoomLMS site download JoomLMS package as a file named XXXXX_JoomLMS_X.X.X_STD.zip or X.X_PRO.zip to your computer.
- Log in into Joomla's Back-end to access the administrative interface. You need the privileges of Administrator or Super Administrator to install our component.
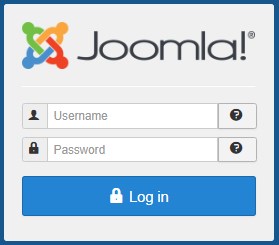 Fig. ''Logging into Joomla''
3. Click 'Extensions' -> 'Extension manager' in the top menu.
4. In the tab 'Upload package file' select the file XXXXX_JoomLMS_X.X.X_STD.zip or zip file. This is the package file which contains all files for the JoomLMS component, located on your computer. Now click on 'Upload file & install'. Since the zip file is about 8 MB in size, you will have to wait a moment while the file is being uploaded to your server and unpacked. If the upload fails or takes too long, try the installation using JoomLMS installer.
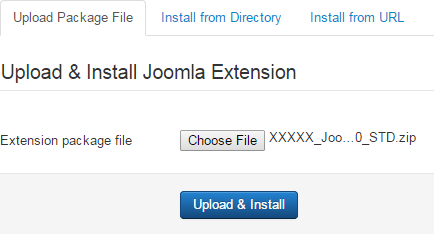
Fig. 'Uploading Package File'
5. The JoomLMS Component should be installed. You'll see the Welcome Message Screen.
6. Open the JoomLMS About page in Joomla’s Back-end, click on the 'Click to enter manually' button, enter the license key and license data (you can find the license key and license data at your Members Area at www.joomlms.com) and then click on the ‘Save’ button.

Fig. ''License Key and Data''
Package Files are mostly a ZIP or tar.gz compressed file directory, which includes all information for the installation. The main file is an XML document which describes the installation process. In order to use this function for your installation, your web server must support the zlib extension.
1.2 Step-by-step component installation using JoomLMS installer
- From the official JoomLMS site download JoomLMS package as a file named XXXXX_JoomLMS_X.X.X_STD.zip or X.X_PRO.zip to your computer. This file contains JoomLMS component itself, various plug-ins and modules for it and instructions file.
- Find joomlms_helper.php file in the root of this file. This is an automatic installer that will install JoomLMS and all modules for it in one step. You wouldn't need to install them one by one.
- Upload the joomlms_helper.php file to the root of your Joomla site.
- Upload the JoomLMS package to the root of your Joomla site (don't unpack it; you only have to upload the file called XXXXX_JoomLMS_X.X.X_STD.zip or XXXXX_JoomLMS_XXX_PRO.zip).
- Run the joomlms_helper.php file from your browser. You should type in the URL according to the pattern: 'http://yoursite.com/joomlms_helper.php'. You will see the following page:
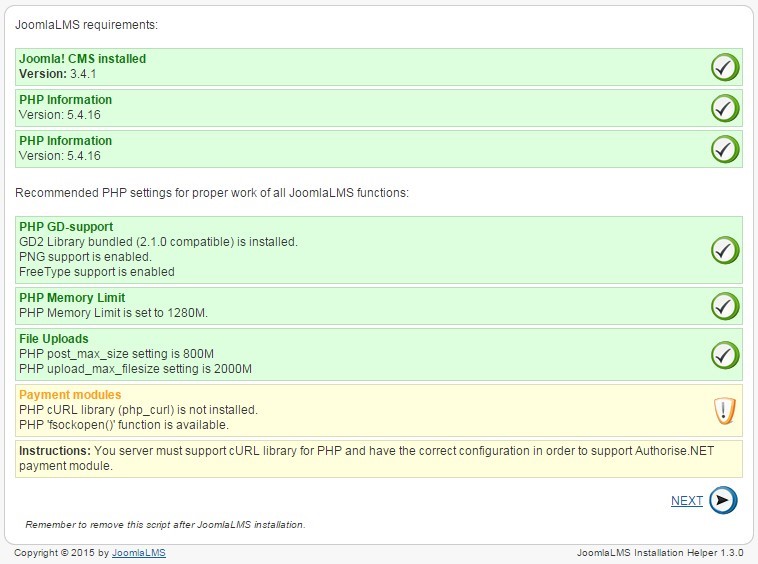
Fig. 'Component Installation. Step 1'
- The installer will test your system for proper configuration and you will be able to proceed with the installation once the test is passed. If one of the steps fails to pass you will get instructions on how to adjust your site’s configuration. If you get messages but can’t change your configuration at the moment, you can return to this script at any other time and test your configuration again. Click on the Next button.
- You will see the picture as follows. At this step the installer will test your system for the previous JoomLMS version and for JoomLMS package accessibility in the root of your site. Click the Next button.
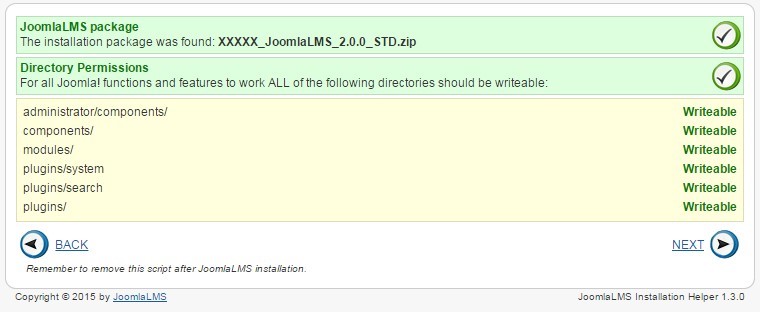
Fig. 'Component Installation. Step 2'
- At this step LMS component and the necessary plug-ins and modules will be installed. This step can take from 10 second up to 2 minutes depending on the hardware of your server. After the installation you will see the page as shown on the following picture. You will be able to see the installation status on it.
![]()
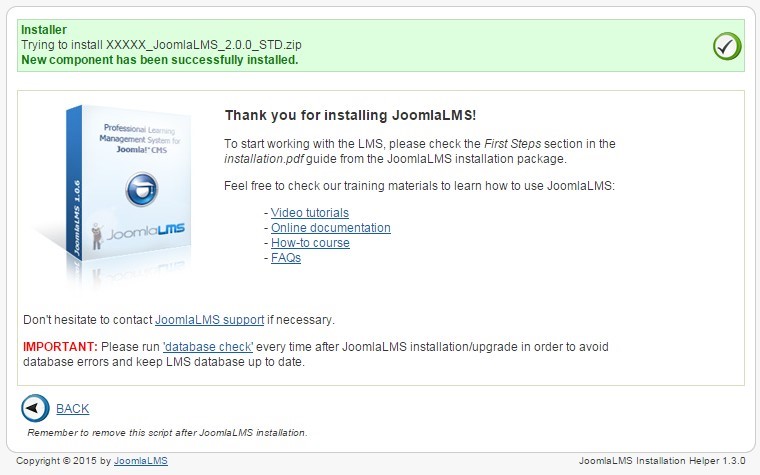
Fig. 'Component Installation. Step 3'
- The JoomLMS Component should be installed You'll see the Welcome Message Screen.
- Open the JoomLMS About page in Joomla’s Back-end, click on the 'Click to enter manually' button, enter the license key and license data (you can find the license key and license data at your Members Area at www.joomlms.com) and then click on the ‘Save’ button
Fig. ''License Key and Data''
2. First Steps
- First of all, go to the JoomLMS configuration page (Administrator’s Back-End -> Components -> JoomLMS -> Configuration) and make sure that all configuration settings are correct. Especially draw your attention to the file path’s parameters and the ‘Offline mode’. Critical parameters that are not configured will be marked with bold red font.
- To use JoomLMS you should create a Teacher user. Open the page ‘Users management’ from the ‘Users management’ left menu section, click the ‘New’ button, select a Joomla user and set a role for him.
- To create a JoomLMS link in your Front-End menu you should configure the Joomla menu. To do the following: Navigate to administrator’s Back-End -> Menu -> Main menu -> Click the ‘New’ button -> Select ‘component’ from the ‘components’ section -> Enter the name of the menu item, select JoomLMS from the list of components and click the ‘Save’ button.
- In addition, you can configure the list of Front-End languages. Check the ‘Languages list’ page in the JoomLMS configuration section. You can access it from the JoomLMS left menu -> Configuration -> Languages.
- If you have any questions feel free to ask them in our support helpdesk at joomlms.com/helpdesk.